· Updated · Matt Ballek · 7 min read
GitHub, Mattsplained
If you're vibe coding, you do not need to become a Git wizard overnight, but you do need a basic GitHub workflow. Here's the plain-English version.
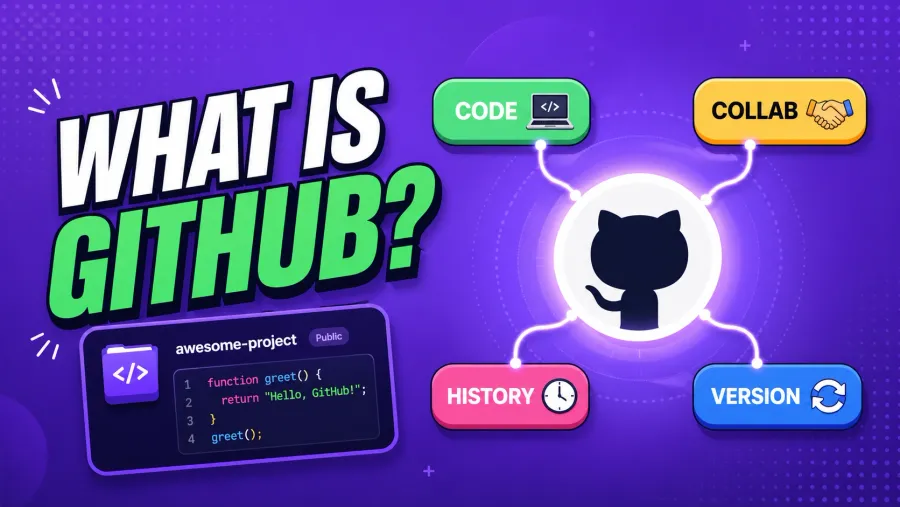
If you’re vibe coding, GitHub is your safety net, your time machine, and the least annoying way to avoid losing work when an experiment goes sideways.
You do not need to master every Git command on day one. You mostly need a simple mental model and a starter workflow that keeps your code backed up, reversible, and shareable.
Quick Navigation
- What GitHub actually is
- Git vs. GitHub
- Why GitHub matters for vibe coders
- The easiest way to get started
- The basic workflow to learn first
- Words worth knowing
- Common mistakes beginners make
- When to learn the terminal
- What to do next
What is GitHub?
GitHub is an online platform where you can store, manage, and share code.
Under the hood, it uses version control through Git, which means it keeps track of changes to your files over time instead of just saving one lonely latest version and hoping for the best.
The beginner-friendly version:
- It backs up your project in the cloud.
- It remembers earlier versions of your code.
- It gives you a clean way to experiment without nuking the main version.
- It makes it easier to share your project with other humans, hosting platforms, and AI tools.
Think of GitHub as a mix of:
- a Dropbox for code
- a time machine for mistakes
- a collaboration layer for future-you and possibly other people
That “future-you” part matters more than most beginners realize. A lot of GitHub value shows up when you break something on Tuesday and want Monday-you back.
Git vs. GitHub
This part confuses almost everybody once, so here is the fast version:
- Git is the underlying tool that tracks file changes.
- GitHub is the website and platform that stores Git repositories online and adds sharing, history, pull requests, and collaboration features.
So when people say “put it on GitHub,” what they usually mean is:
- Turn your project into a Git-tracked folder
- Connect it to a remote repo on GitHub
- Start saving snapshots of your work there
You do not need to separate these perfectly in your head yet. Just know that Git is the engine and GitHub is the place most people interact with it.
Why GitHub Matters for Vibe Coders
Your code is backed up
Push your project to GitHub and it is no longer living only on your laptop like a fragile little woodland creature.
If your machine dies, your editor crashes, or an AI tool “helpfully” rewrites half your app into soup, your project history still exists.
You can try things without so much fear
This is the real magic.
When you know your code is tracked, you are way more willing to test ideas, refactor messy files, and let AI take bigger swings. If the experiment works, great. If it does not, you can roll back.
That is a better way to build than living in permanent low-grade terror.
It makes AI-generated code less of a black box
A lot of AI app builders and editors connect directly to GitHub. That matters because it keeps your project portable.
Instead of your app living inside one proprietary interface forever, you can usually export it, inspect it, edit it in your own IDE, and keep control of the code.
It sets you up for real workflows later
Even if you are building solo right now, GitHub becomes the place where other useful stuff hooks in later:
- deployments
- previews
- code review
- issue tracking
- collaboration
You do not need all of that today. But it is nice not to rebuild your workflow from scratch once your “tiny side project” starts acting important.
How to Get Started without the Terminal
Yes, there is a whole universe of terminal commands like git rebase, git stash, and other phrases that sound like punishments from a wizard school.
You do not need any of that to start.
Here is the easiest path:
1. Create a free GitHub account
Go to github.com and make an account.
2. Install GitHub Desktop
Install GitHub Desktop.
This is the friendlier on-ramp for beginners because it lets you see changed files, write commit messages, push updates, and switch branches without typing magic incantations.
3. Create or clone a repo
You can either:
- create a brand-new repository for a new project, or
- clone an existing repo to your computer
If you are starting something from scratch, create a repo with a clear name and a short README later. Do not overthink this step.
4. Open the project in your editor
From GitHub Desktop, open the repo in VS Code or whatever editor you use.
Now you can build normally while GitHub Desktop watches the file changes in the background.
The Basic GitHub Workflow
If you learn nothing else this week, learn this loop:
- Change files
- Review what changed
- Save a commit
- Push it to GitHub
That is the beginner workflow.
Step 1: Make a small change
Add a feature. Fix a typo. Clean up a component. Do one thing at a time when possible.
Smaller changes are easier to understand later, and easier to undo if needed.
Step 2: Review the diff
Before you commit, look at the changed files.
This is where GitHub Desktop starts teaching you good instincts. You can literally see what was added and removed. That makes it much easier to catch weird AI edits before they become permanent history.
Step 3: Commit with a useful message
A commit is just a saved checkpoint.
Good commit messages are boring in a helpful way:
Add login form validationFix mobile nav spacingConnect contact form to Resend
Bad commit messages include:
stuffmiscaaaaaplease work
I understand the temptation. I do. Still: resist.
Step 4: Push to GitHub
Pushing sends your local commits up to GitHub so they exist online.
Until you push, your work is only saved on your machine. That is still better than nothing, but “I committed it” and “it is safely on GitHub” are not the same thing.
Words Worth Knowing
You do not need the whole dictionary. These are the ones that matter first:
Repo
Short for repository. It is the project folder Git tracks.
Commit
A commit is a saved checkpoint in your project’s history.
Branch
A branch is a separate line of work so you can test changes without messing with the main version.
Clone
To clone a repo means copying it from GitHub down to your computer.
Pull Request
A pull request is a formal “here are my changes” page used for review before merging code into the main branch.
If you are solo, you may not use pull requests immediately. But they become useful fast once your project gets more real.
Common Mistakes Beginners Make
Waiting too long to commit
If you make 47 unrelated changes and then commit them all at once, your history becomes way less useful.
Try to commit after a meaningful chunk of progress, not after a full emotional breakdown.
Working only on main
You can get away with this at first, but once you start testing risky changes, use a branch. It is cleaner and safer.
Forgetting to push
Local commits are not the same as cloud backup. Push regularly.
Letting AI change too much at once
If an AI tool rewrites half your codebase in one shot, the diff becomes hard to review.
Smaller prompts and smaller commits make GitHub much more useful.
Treating GitHub like an optional extra
If you are building real projects, GitHub is not “nice to have later.” It is part of the minimum viable grown-up workflow.
When to Learn the Terminal
Start with GitHub Desktop if that keeps you moving.
Then, once the concepts feel normal, learn a few CLI basics in this order:
git statusgit addgit commitgit pushgit pullgit checkoutorgit switch
That is enough to make the terminal feel less spooky.
You do not need to become a command-line samurai before your first decent app exists.
What to Do Next
If you want the practical beginner version, here is your assignment:
- make a GitHub account
- install GitHub Desktop
- create one repo for your current project
- make one tiny change
- commit it with a real message
- push it to GitHub
That is it. That is the first win.
Once you do that a few times, GitHub stops feeling like “dev infrastructure” and starts feeling like a normal part of building.
And if you are vibe coding with AI, that is exactly what you want: a simple system for trying things, keeping the good stuff, and undoing the cursed stuff.